Seed Starting Mix Recipe
Basic Potting Mix Recipe
1 part sphagnum peat moss (or coco coir) 1 part perlite 1 part vermiculiteEnriched Potting Mix Recipe
4 parts sphagnum peat moss (or coco coir) 2 parts compost 1 part perlite 1 part vermiculite Some people might feel a little hesitant about the initial investment (2 cubic feet of vermiculite = $20, 2 cubic feet of perlite = $17, 3 cubic feet of peat moss = $12), but a little goes a long way.Tomato Notes
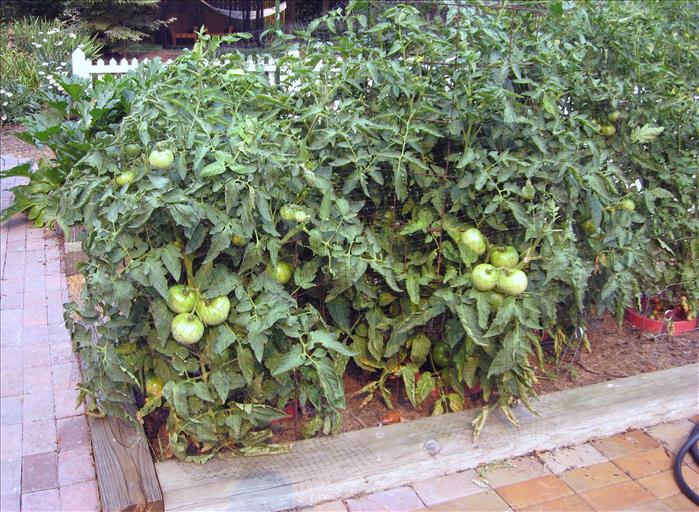
How to keep birds out of my tomatoes
Here are some ideas I have tried
Other ideas I have heard about that I want to try
|
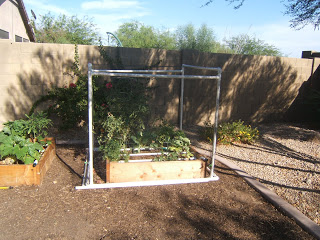
I may try building a PVC netting cage. Haven't tried this yet.
Vegetable garden mulch notes from Virginia Extension site
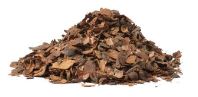
| Leaves - A layer of leaves, 2 to 3 inches thick after compaction, provides good annual weed control. Leaves will decompose fairly quickly, are usually easy to obtain, attractive as a mulch, and will improve the soil once decomposed. To reduce blowing of dry leaves, allow to decompose partially. Highly recommended as a mulch. |
| Grass clippings - A 2-inch layer of grass clippings provides good weed control. Build up the layer gradually, using dry grass. A thick layer of green grass will give off excessive heat and foul odors rather than decompose as other organic material. However, in limited quantity, clippings will decompose rapidly and provide an extra dose of nitrogen to growing plants, as well as making fine humus. Avoid crabgrass and grass full of seed heads. Also, do not use clippings from lawns which have been treated that season with herbicide or a fertilizer/herbicide combination. Grass clippings may be used directly as mulch around vegetables or fruit plants, or they may be composted. They are an excellent source of nitrogen to heat up a compost pile, especially for those gardeners without access to manures. |
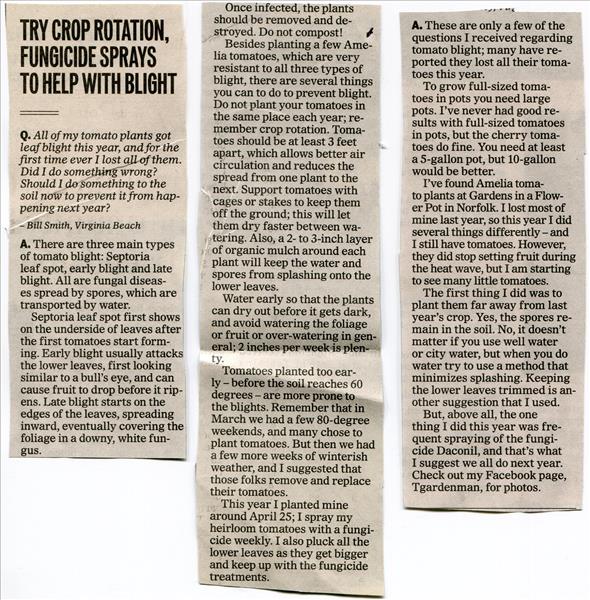
Preventing Tomato Blight
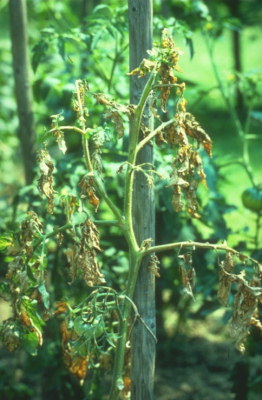
Veggie Gardener Tomato Blight Tips
Virginian Pilot Article on preventing tomato blight
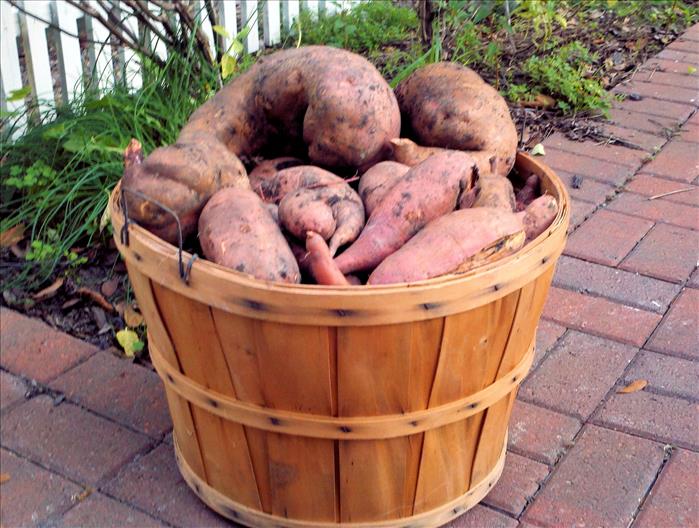
Sweet Potatoes
|
Sweet potatoes are usually grown from slips; small rooted pieces of tuber. You can create your own slips by slicing a sweet potato in half lengthwise and placing it on a bed of damp potting soil. Cover the pieces with a few inches of soil and keep moist and warm. Small roots should develop within a few days, followed by leaves. They are ready to be lifted and planted once they're about 4 - 8 inches tall. (About 6 weeks.) Plant sweet potato slips as soon as the ground has warmed and all danger of frost has passed. To give them a head start, sweet potatoes are often planted in raised rows, about 8" high. This helps the soil warm faster and keeps them well drained. Space plants about 12 - 18" apart with 3 - 4' between rows. The vines will spread and fill in, so give them plenty of room. Feeding sweet potatoes tends to produce just foliage. Plant in a soil high in organic matter and then leave them alone. Don't water your sweet potatoes during the final 3-4 weeks prior to harvest, to keep the mature tubers from splitting. Regular watering is the best way to prevent splitting. |
Potatoes
|
Grow your potatoes in soil with a pH between 5.0 and 6.0. Potatoes grown in soils with a higher pH seem prone to a disease called ‘scab', which produces rough spots on the potato. Adding compost or peat will help. Don't plant your potatoes where tomatoes or eggplant were grown the year before. These are in the family as potatoes and can attract similar pests and problems. Unfortunately, after much internet research it is strongly recommended that store bought potatoes NOT be used as seed potatoes. Too bad. For my size garden it won't make any sense to purchase seed potatoes. Best, bet is is to plant the plants when they are available in the garden center. See what Southern States has in February. Container Method: The container method makes hilling easy and takes up less space. Plant your seed potatoes in the bottom of a tall container, like a clean garbage can or whiskey barrel. Put about 6" of soil in the bottom first, then spread out your seed potatoes. Keep adding soil as the plants get taller. Try using just a bale of peat which works quite well. Potatoes don't like a particularly rich soil. If you have some organic matter and the pH is good, the potatoes should be happy. What they do rely on is a steady water supply. Water them at least an inch a week. |
Brussel Sprouts

I have been wanting to try brussel sprouts for awhile now.
|

This page last updated on 12/29/2023 8:56:19 AM. If you have comments or suggestions, email me at webmaster@jscheetz.com