Here is my "New" finally completed workshop!
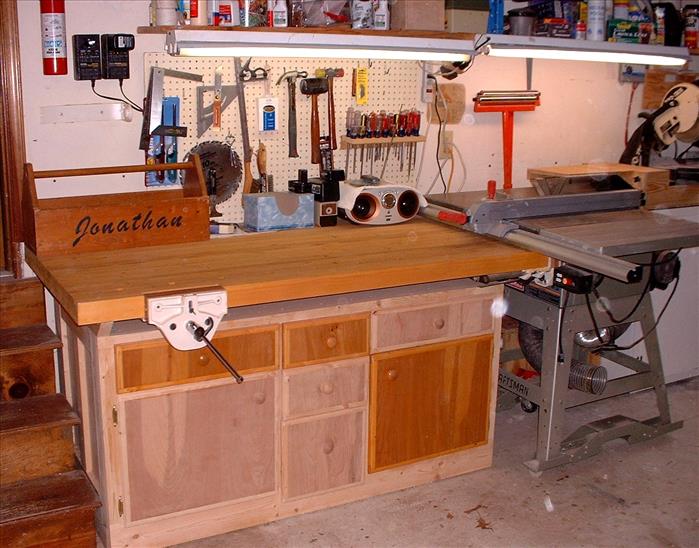
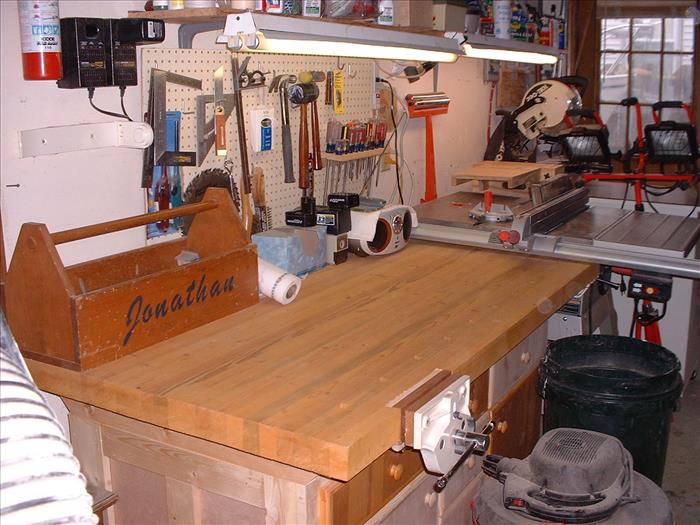
Here is my workbench - one day I will get around to applying the rest of the finish. There is a quick release vise on the front and on the end on the right.
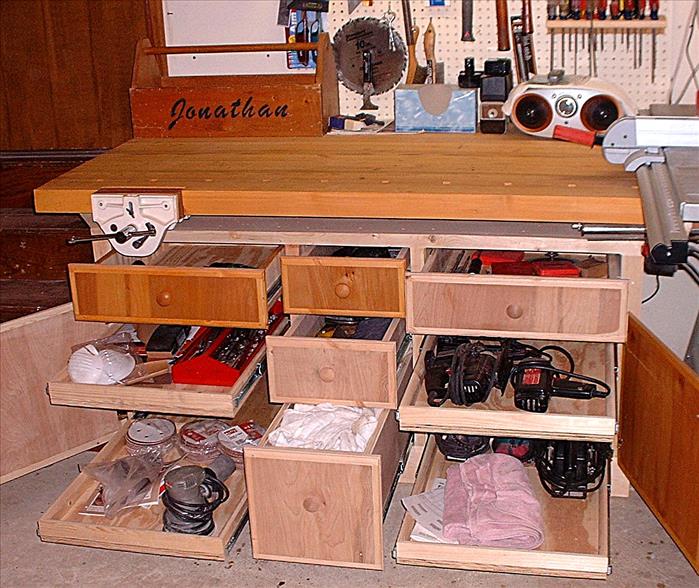
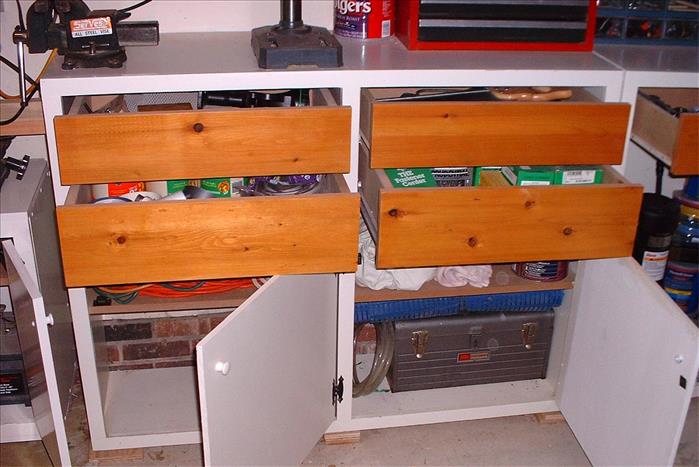
Here is the bench with all the drawers extended.
The following pictures are of the shop with everything put away and ready for the cars to be put into the garage.
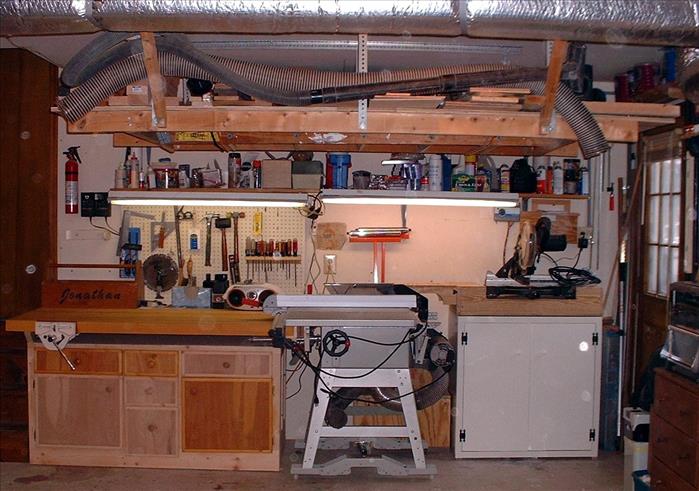
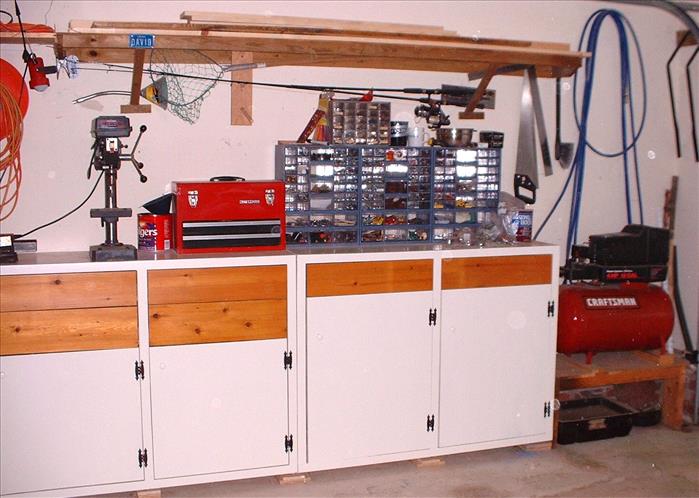
Workbench, table saw, new paint cabinet with miter saw station sitting on top. My lumber storage rack is suspended from the ceiling.
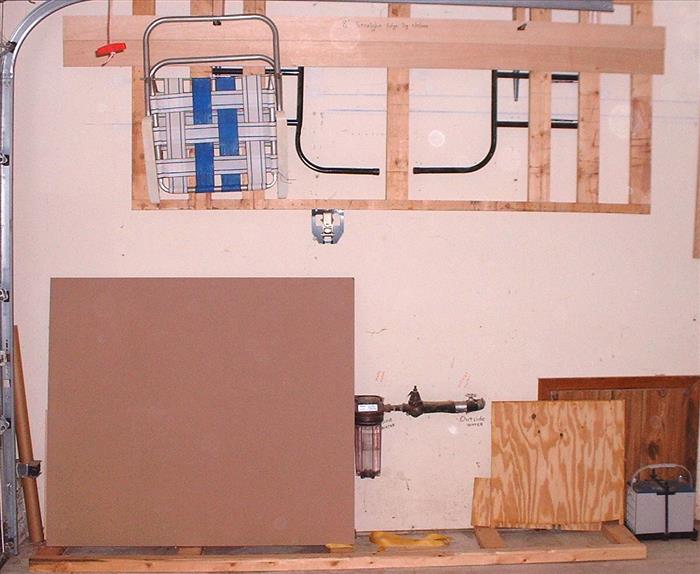
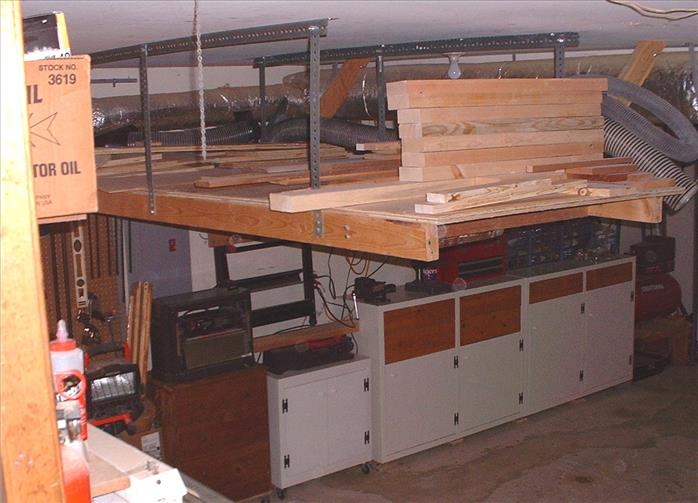
This is my plywood storage rack and above that is my folder panel cutting station and an 8' straight edge jib for cutting plywood with the circular saw.
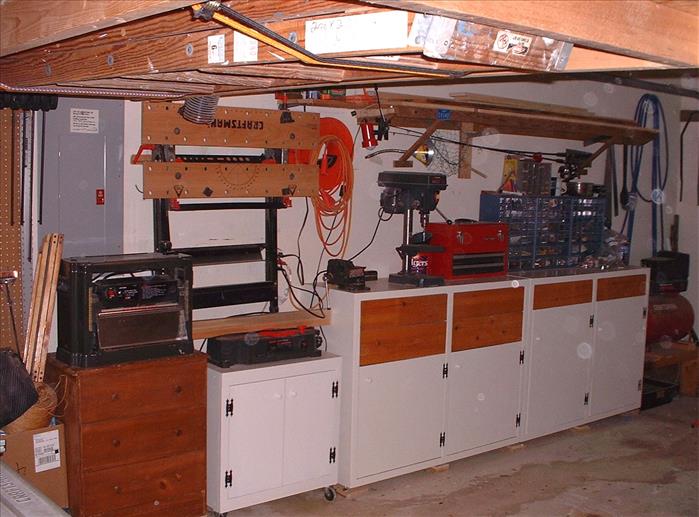
From left to right is planer, jointer cabinet and four shop cabinets and finally the air compressor.
Notice that I have used shock cords to store my step ladder stored under the lumber storage rack.
Also notice the lumber storage shelf above the cabinets this is where is I store long boards up to 10 feet in length.
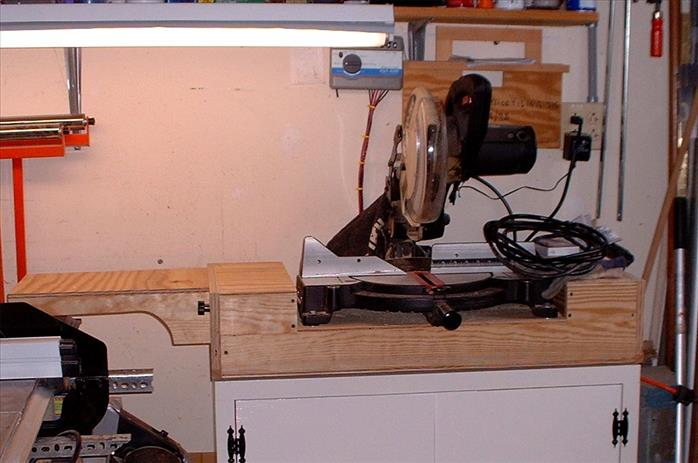
Newly completed miter saw station - still needs rear fence attached and have the finish applied. It is sitting on top of the newly completed paint supplies storage cabinet.
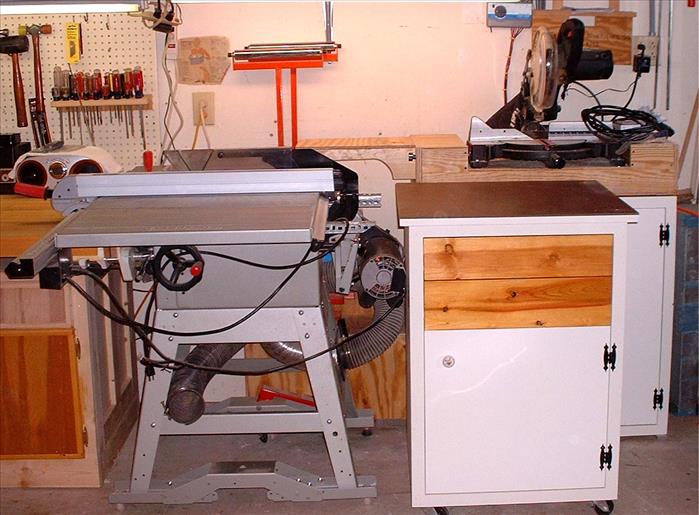
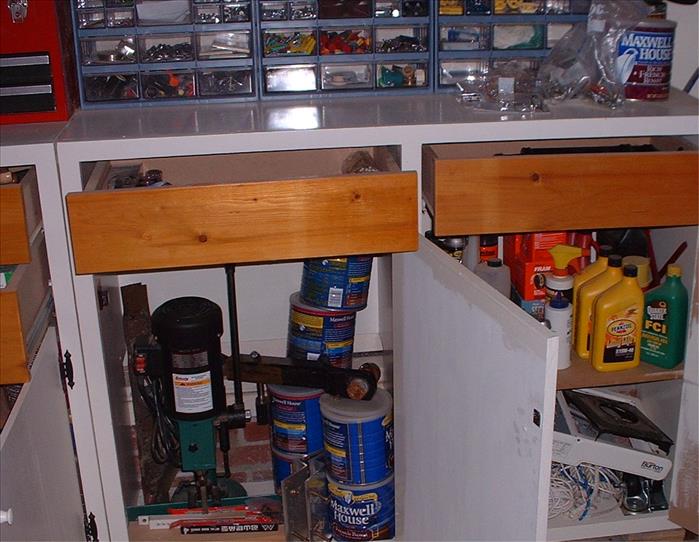
This is my "saw workstation" cabinet. It is the same height as the table saw an I use it as an extension to the table saw.
The top drawer contains table saw accessories and the second drawer contains router accessories.
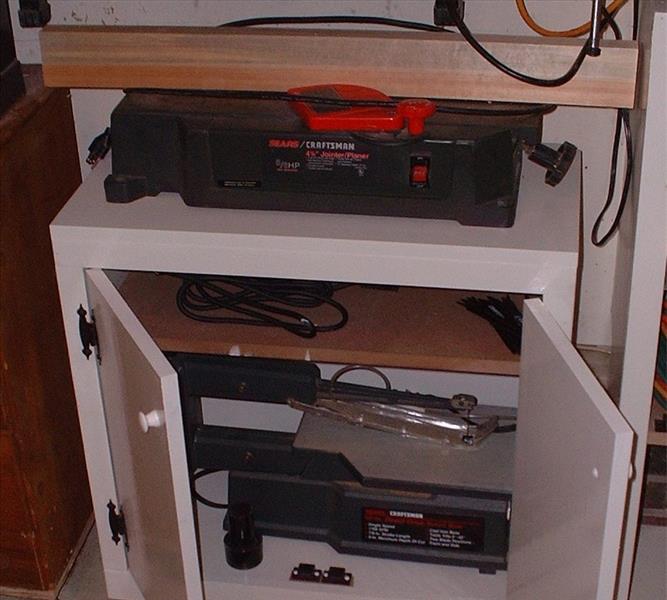
This is my jointer cabinet. The scroll saw is stored here and the reciprocating saw is stored on the top shelf.
The left two new garage cabinets.
Right two cabinets, that's my mortiser on the left.
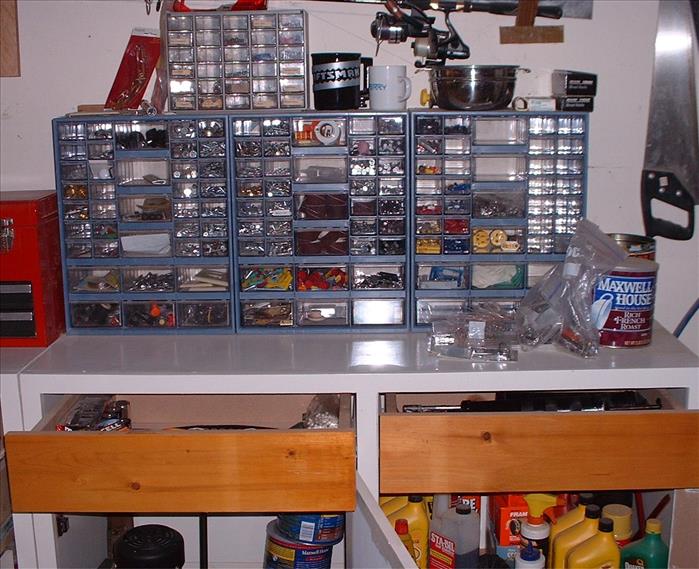
The right two new garage cabinets and the pre-fabbed storage bins.
The lumber storage shelf is where is store my long boards up to 10 feet in length.
Looking won the workbench with everything stowed.
The lumber storage rack.
Projects I've build
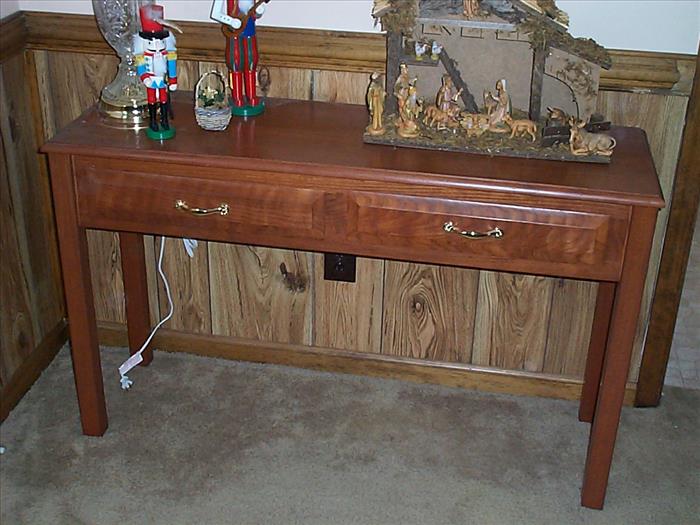
In December of 1996 I built this table. This was my first majorproject after taking a course on wood working at the adult learning center. It has already gotten a lot of use. It is made of Cherry and has a polyurethane finish.
TODO: Picture of my plant stand to go here
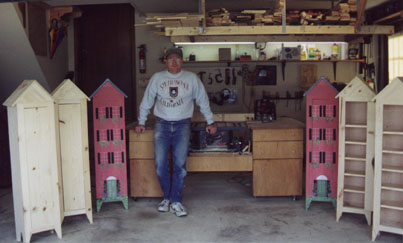
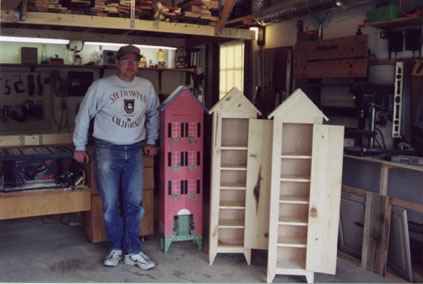
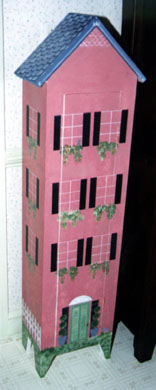
Storage hutches - Christmast 1998
The hutches were built by me and were intened to be for CD storage. However, most of the receipents have used them as cupboards in their kitchen. The two painted cabinets were painted by Doris. This project turned out to be a lot bigger and more expensive than I first thought. Kerrie said "Never again." However, they turned out well. They were Christmas presents for Christmas 1998. Mom & Dad and Judy use theirs as a mini pantry. I am using mine as a CD and DVD storage cabinet and use it almost every day. Definitely a worth while project.
Notice the table saw cabinet in the middle. This was my olde shop. The table saw was built using Popular Woodworking's "Little Shop That Could" workbench plans. This bench served me well for a long time. I went through two bench top saw with this setup.
Painted cabinet in Martha's kitchen in Martinsville.
Bay Window Cabinet Project
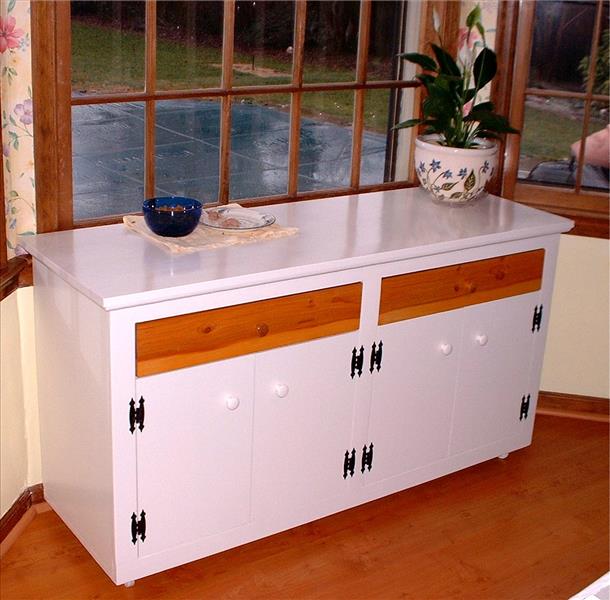
I finally got around to completing the cabinet for the bay window. This project took about six days to do and was completed on 1/30/2005. Turned out pretty well I think.
|
|
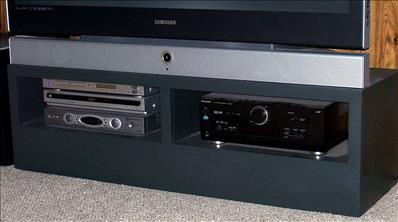
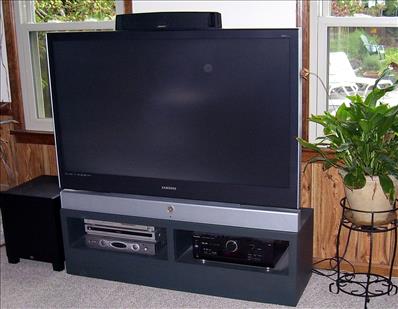
| When we purchased our new TV the stands were exorbitantly priced. So I made this one for less than $100. I think it turned out pretty well. | |
TODO: Add picture of plant stand |
|
- Yukon Lumber
- Songs of the Great Lakes (interesting very compact shop)
- Jeff Greef Woodworking
- Workbench Magazine
- Woodsmith Store
- Wine storage cabinet
- Library book cases
- Hall Table to sit under kitchen phone.
- Printer stand
- Panel moving shuttle
This page last updated on 2/7/2020 3:25:17 PM. If you have comments or suggestions, email me at webmaster@jscheetz.com